3D printing
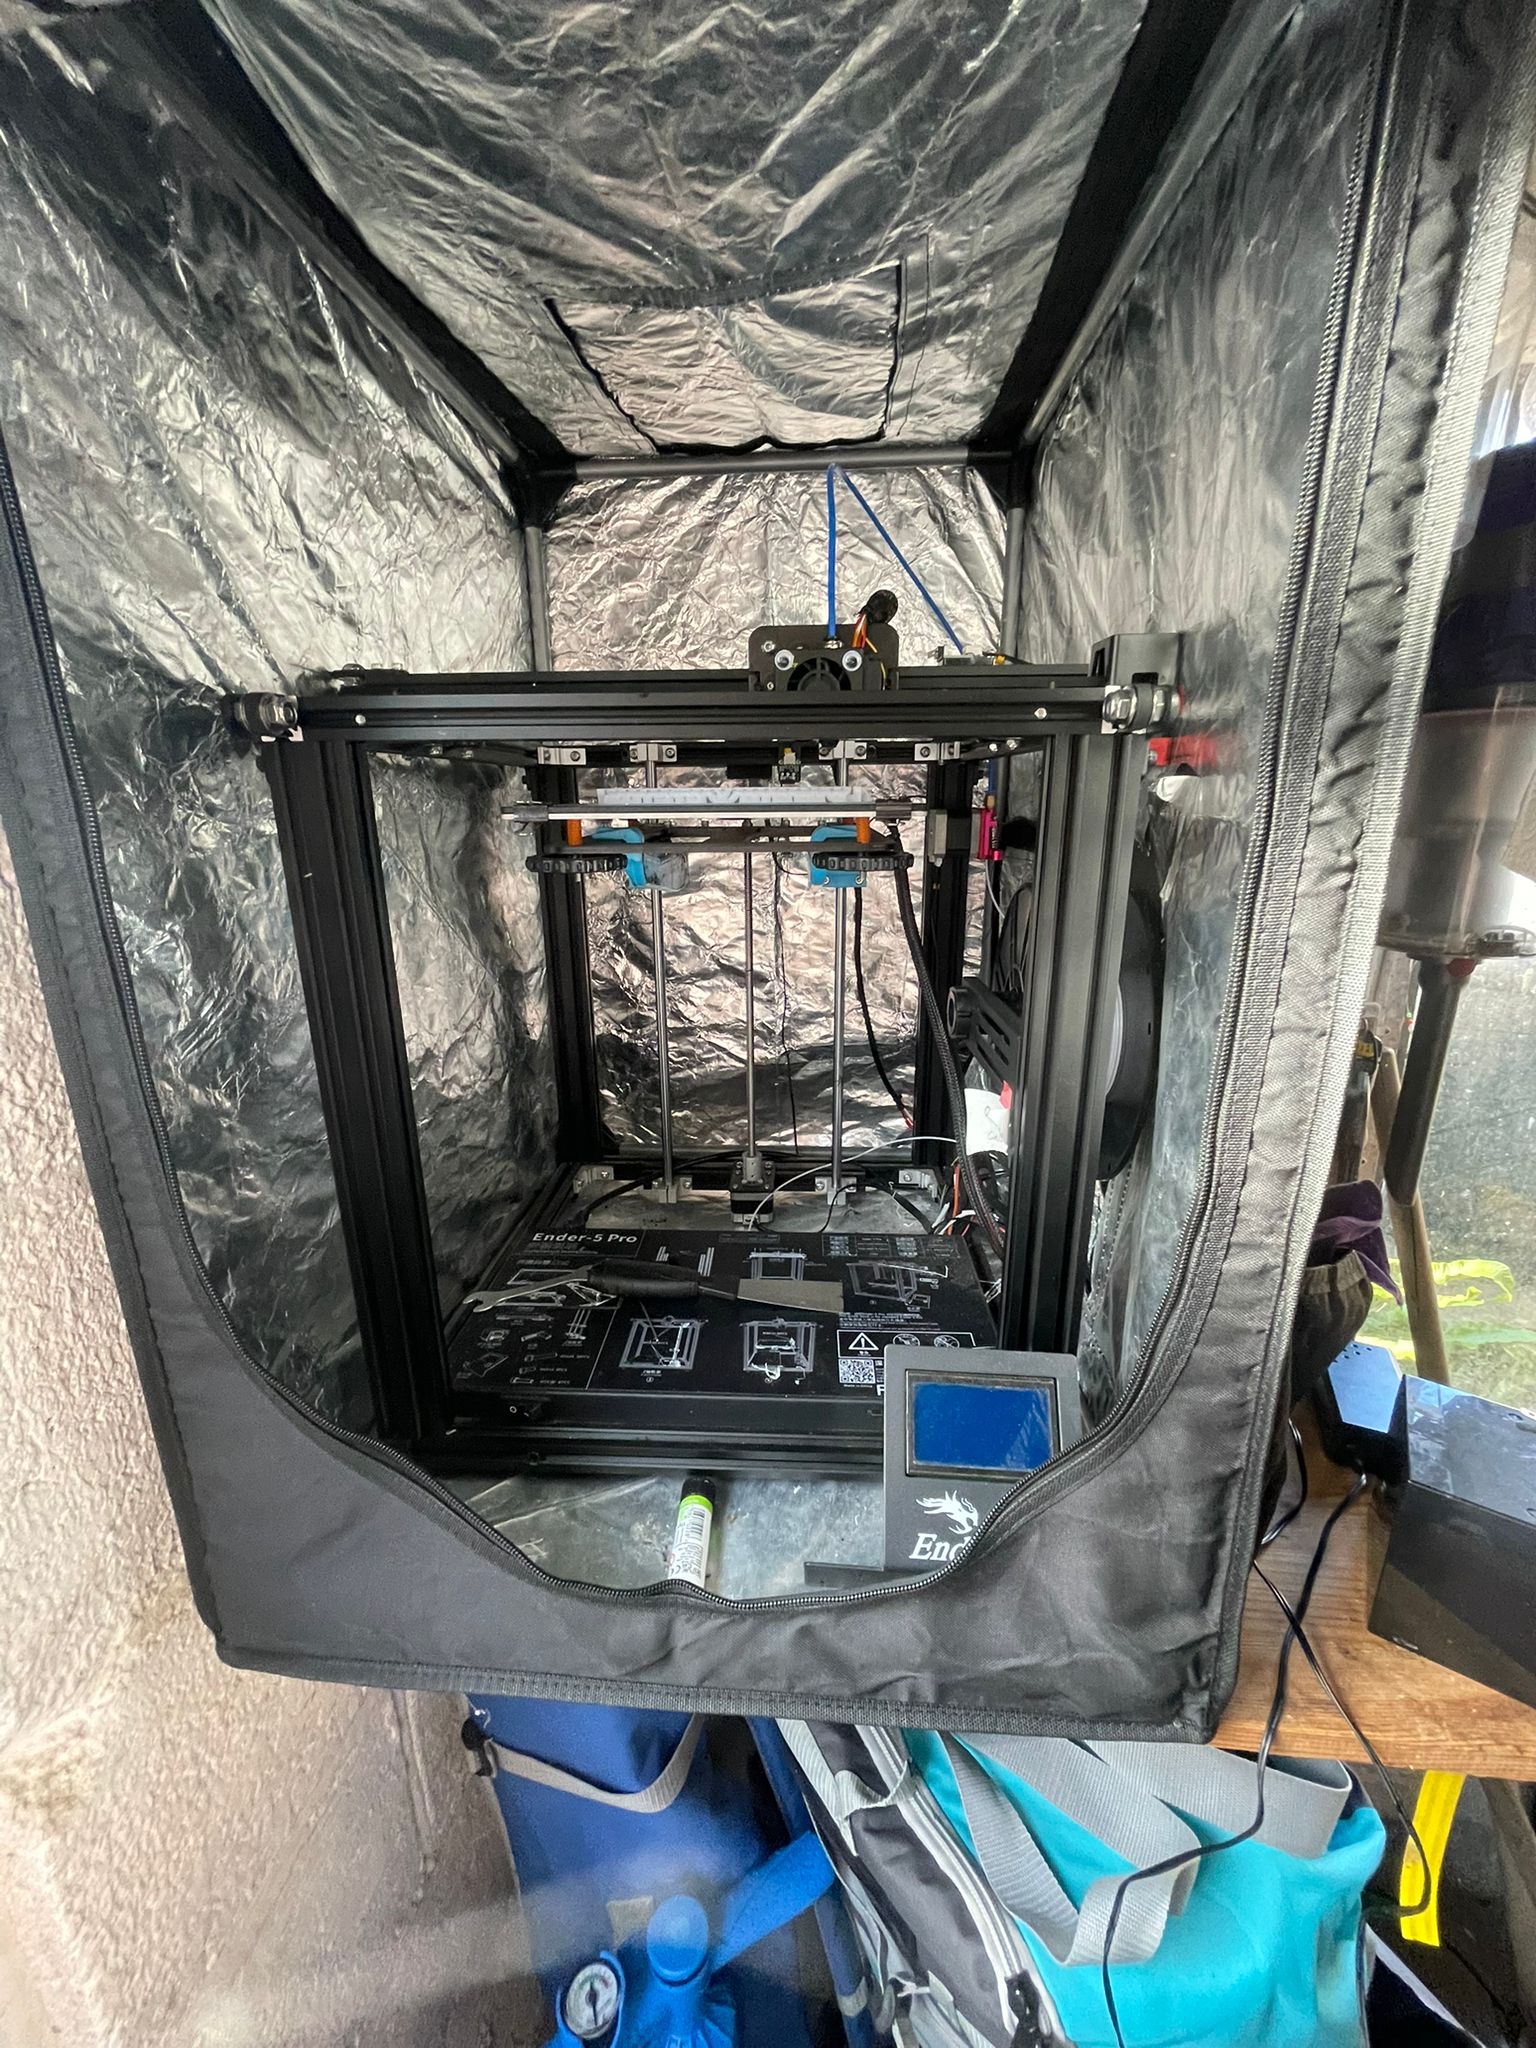
My 3D printer in an enclosure
My printer is not a toy. It's a piece of manufacturing equipment that has to be built, maintained, calibrated and fixed by me. It's not the latest and greatest technology that exists, being made before "plug and play" printers were anything close to affordable. It's not intelligent and requires manual calibration and operation. While inconvenient, this has two perks. One, I have a very large amount of control dictated by my ability to know and use my machine.
The second advantage comes from the fact that with inconvenience, comes skill. Below is a long list of the problems, situations and solutions I have come up with to keep the printer running, each one making me more skilled and knowledgeable about additive manufacturing. It's also a small form of catharsis, because as much as I love my printer dear lord does it drive me insane sometimes.
- Problem: Printer shuts off randomly
Solution: Factory sent me faulty kettle-pin power cord. Replace with spare - Problem: Printing surface is producing poor results
Solution: Purchased a glass buildplate, with clips and gluesticks to massively improve print quality - Problem: Z axis is not working
Solution: Replace motor and clean Z-axis screw of any grime / grit - Problem: Prints are cooling too quick
Solution: Buy and build print enclosure - Problem: Filaments are absorbing too much water from air (ambient humidity is very high where I live)
Solution: Switch filaments regally, store in airtight box with silica gel to draw out moisture - Problem: Exturding motor eats away at filament
Solution: Adjust tension, use trial and error to get the tension in the spring that applies force to the perfect level - Problem: Bowline tube (tube that feeds filaments into the print head) had to be cut to extract bad filament
Solution: Replace, also buy additional fittings it requires to replace old worn out ones - Problem: Filament has clogged
Solution: This was a common issue, and it took a good deal of trial and error before I got a solid method. That method is:- Turn on a soldering iron to 300*C, fix it in a vice pointing straight up
- Use tweezers to place nozzle on the iron backwards
- Plastic will vaporise / bubble up. Use a rag to wipe excess plastic off. Do in a well ventilated place
- Once done, use a pin-wire to check if hole is clear, use tweezers to pick up and see if you can look all the way through.
- Place hot nozzle on buildplate, let it cool
- Problem: Build plate is not calibrated
Solution: There are many ways I did this, they are:- Attach a micrometer to the print head, use it to measure displacement
- Print small test rings, use a pair of calipers to measure their thickness
- Adjust wheels below the bed to level it
- Problem: Bed shakes too much when operating
Solution: Print under-bed arms that reduce vibrations